
THE PREPARATION NOTEBOOK / Presentations
NCERT Science PPT for Class 10: Light, Reflection and Refraction
Download an editable Class 10 Science teaching presentation on Light. Use ray diagrams, worked examples and exit questions, then adapt the sequence to your lesson.
Teachers Lab material · Free sample download
Written with AI assistance for Teachers Lab. Original classroom examples are provided for teachers to review, adapt and use with their own teaching judgement.
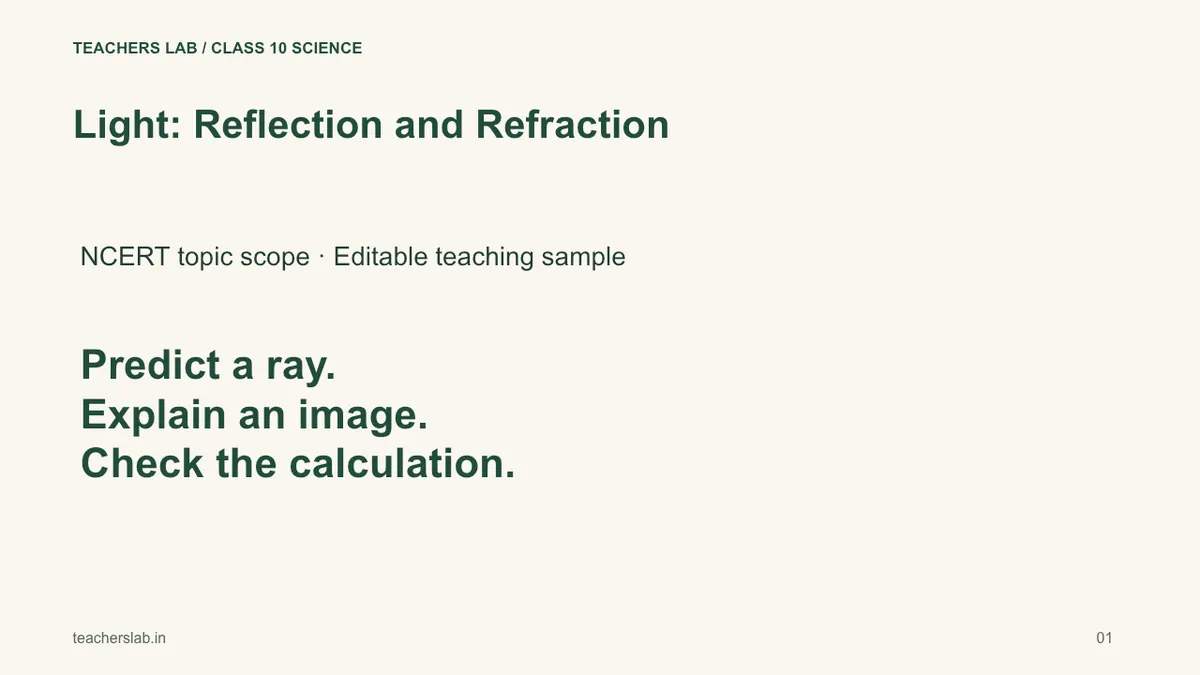
An NCERT Science PPT should leave space for thinking
A presentation can make a ray diagram easier to discuss, but a long sequence of definitions can also turn a Science lesson into copying. Before choosing slide colours, decide what pupils will predict, draw, calculate and explain. Those actions give the presentation its teaching sequence.
This Class 10 Science PPT on Light, Reflection and Refraction contains 12 editable slides. It uses the topic scope of the NCERT chapter, with original diagrams and numerical examples. The deck is a Teachers Lab teaching sample, prepared for this guide; it is not a recording of an app-generated result or an official NCERT presentation.
Download the editable Light presentation
The PowerPoint file includes reflection, spherical mirrors, refraction, refractive index, lenses, sign conventions, power and exit questions. Teacher notes contain prompts, answers and the source link. The ray diagrams use editable native objects, so you can adjust labels without replacing a flattened screenshot.
Treat this as a short teaching sequence across suitable periods, or select a subset for revision. Twelve slides covering several concepts should not be read at speed to fit one introductory period. Open the file on the classroom device before teaching.
Begin with a prediction and a diagram
For reflection, ask pupils to place the normal before naming either angle. The angle of incidence and angle of reflection are measured from that normal, not from the mirror surface. Let pupils predict the reflected direction, then compare it with the diagram.
For refraction from air into glass, the example shows the ray bending towards the normal. Link that particular direction to entry into a medium with a larger refractive index. Avoid the incomplete rule “light always bends towards the normal”: the direction depends on the two media and the direction of travel.
Ask pupils to mark the incident ray, refracted ray and normal on a notebook sketch. A diagram on a slide supports discussion; it does not tell us whether each pupil can construct the relationship independently.
Connect diagrams, signs and calculations
The mirror example uses f = −15 cm and u = −30 cm, giving v = −30 cm and magnification −1. The sign of v describes the image position within the adopted Cartesian convention; the negative magnification indicates inversion. Explain those meanings alongside the arithmetic.
The convex-lens example uses f = +15 cm and u = −45 cm. From 1/f = 1/v − 1/u, v is +22.5 cm and magnification is −0.5. The diagram therefore places a real inverted image between F and 2F on the other side, half the object's height. Check that the drawing and the calculation tell the same story.
For power, convert focal length to metres before using P = 1/f. A +20 cm focal length means +0.20 m and +5 dioptres. An answer of +0.05 D usually signals a unit issue rather than a failure to remember the formula.
Adapt a Science presentation for your board and language
For NCERT-based CBSE teaching, select the relevant current pages and remove material outside the intended lesson. ICSE teachers can adapt the optical concepts, but should compare depth, terminology and assessment expectations with their prescribed text. Do not treat the NCERT chapter as a substitute for an ICSE syllabus.
If you teach in Hindi, keep the physical relationships and numerical signs unchanged while reviewing the vocabulary. Ask pupils to connect a familiar spoken explanation with the formal term they will use in an answer. A translated slide still needs room for discussion and drawing.
Create and refine with Teachers Lab
Open the PPT generator for teachers. Start from available book pages or a topic, then describe one teaching outcome and the explanations pupils need. For example, request a sequence on convex-lens image formation with an object beyond 2F, one numerical example and an exit check.
Review every formula, label and diagram before export. If the draft becomes crowded, remove a secondary idea or split the teaching across periods. A short slide followed by a pupil task is often more useful than a slide containing the entire spoken explanation.
The chapter-to-presentation guide explains the broader preparation workflow. Save a version after reviewing it, then use what pupils found difficult to shape your next presentation brief. AI helps prepare the sequence; your teaching determines its pace and follow-up.
Common questions
Is the PPTX editable?
Yes. Text and teaching diagrams use editable slide objects. Test the file in your presentation software before class.
Does it cover one 40-minute period?
It covers several Light concepts. Select a subset for a single lesson or use the sequence across suitable periods.
Is it an official NCERT or ICSE resource?
No. It is original Teachers Lab material based on the cited NCERT topic scope. ICSE teachers should review it against their prescribed syllabus and book.
YOUR NEXT CLASS
Create a version for your classroom.
Bring your topic or book pages, then review and refine the resource for your students.
Start in Teachers Lab